


Create an Application Load Balancer - Elastic Load Balancing Using AWS EC2 Instance
| Create Load Balancer Between Two EC2 Instance | Load balancer Between Two Hosted Apache WebSever | Beginner Guide |


What is load balancing?
Elastic Load Balancing automatically distributes your incoming traffic across multiple targets, such as EC2 instances, containers, and IP addresses, in one or more Availability Zones. It monitors the health of its registered targets, and routes traffic only to the healthy targets.
- For More about Load Balancing must visit link
How to create a load balancer using AWS
Create EC2 And Host A Server
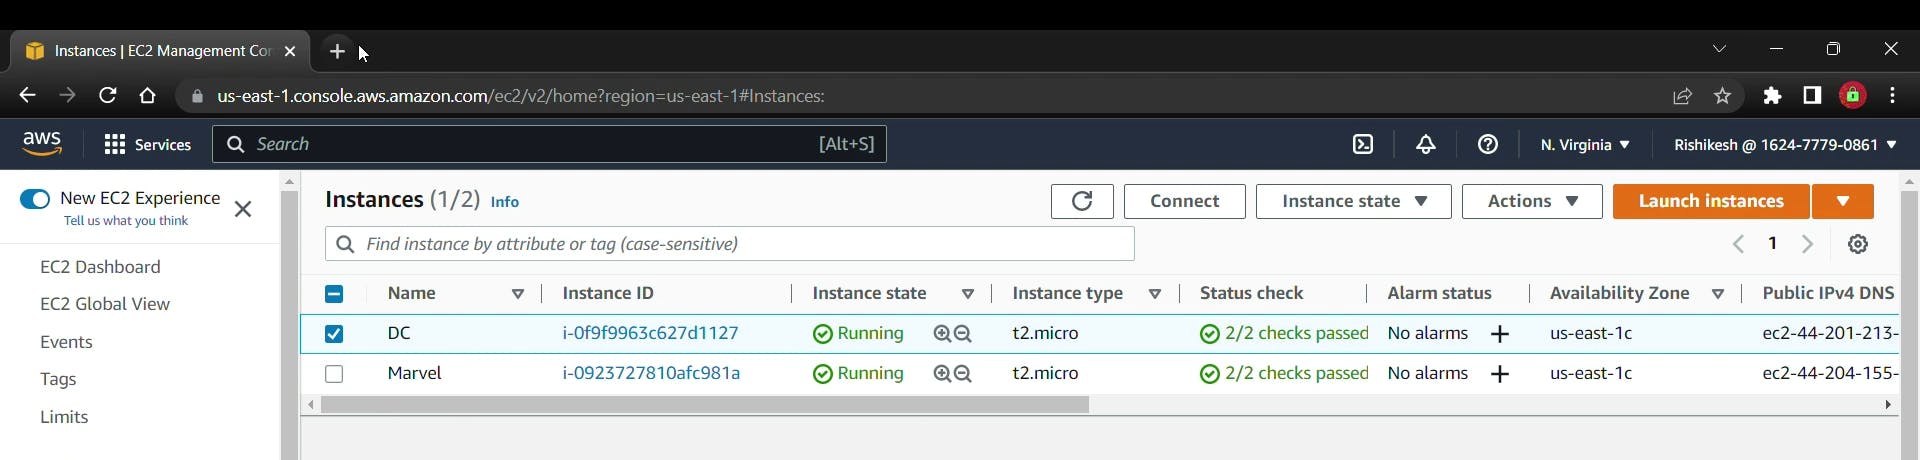
1) You Have To Create Two EC2 Instance For Balancing the load between them. Create An Instance And Host Apache Server. If You don't Know How to do that Read My Previous Blog on That .
2) Edit That servers Index file in two different Lines For Understanding.
 So here we have to server called DC And Marvel now we do Load Balancing Between them.
Create Load Balancing Application
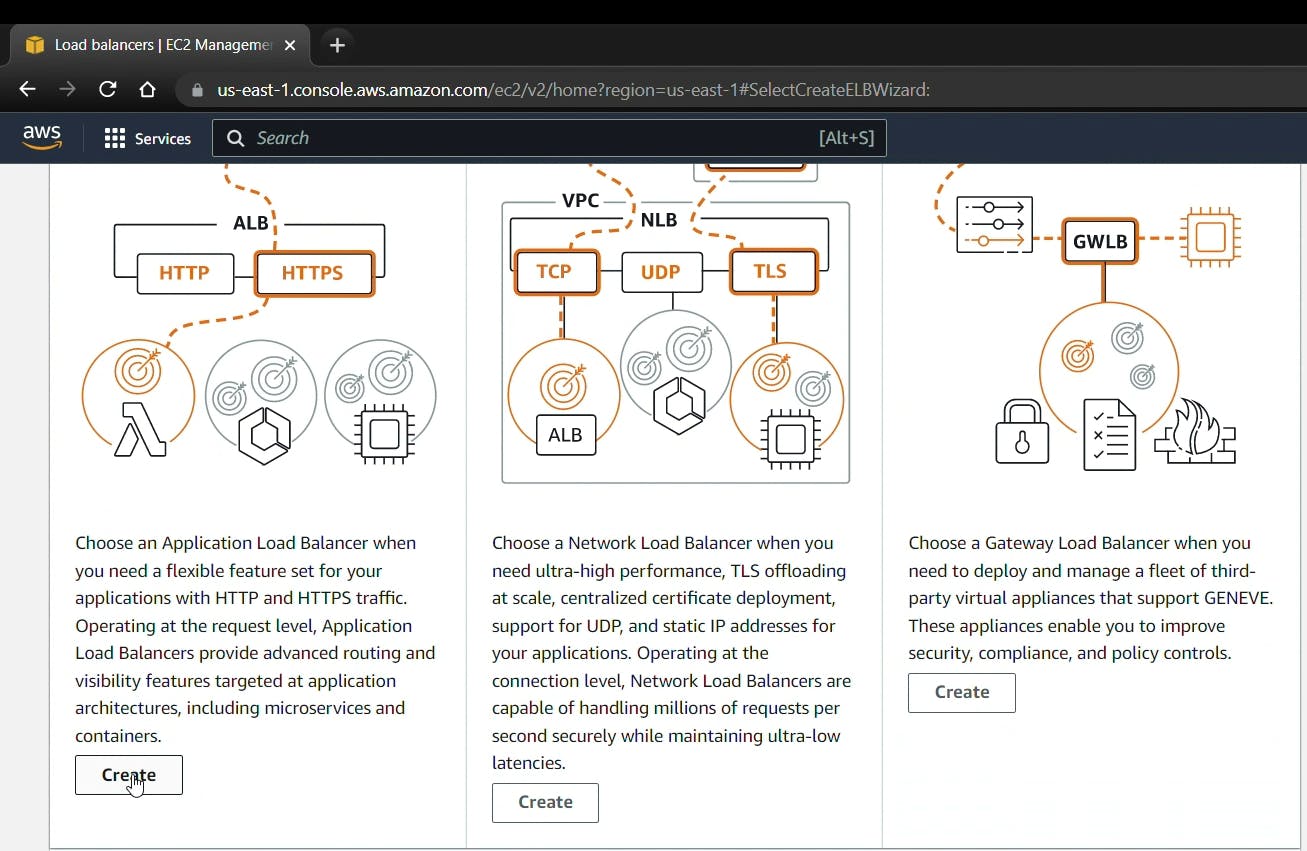
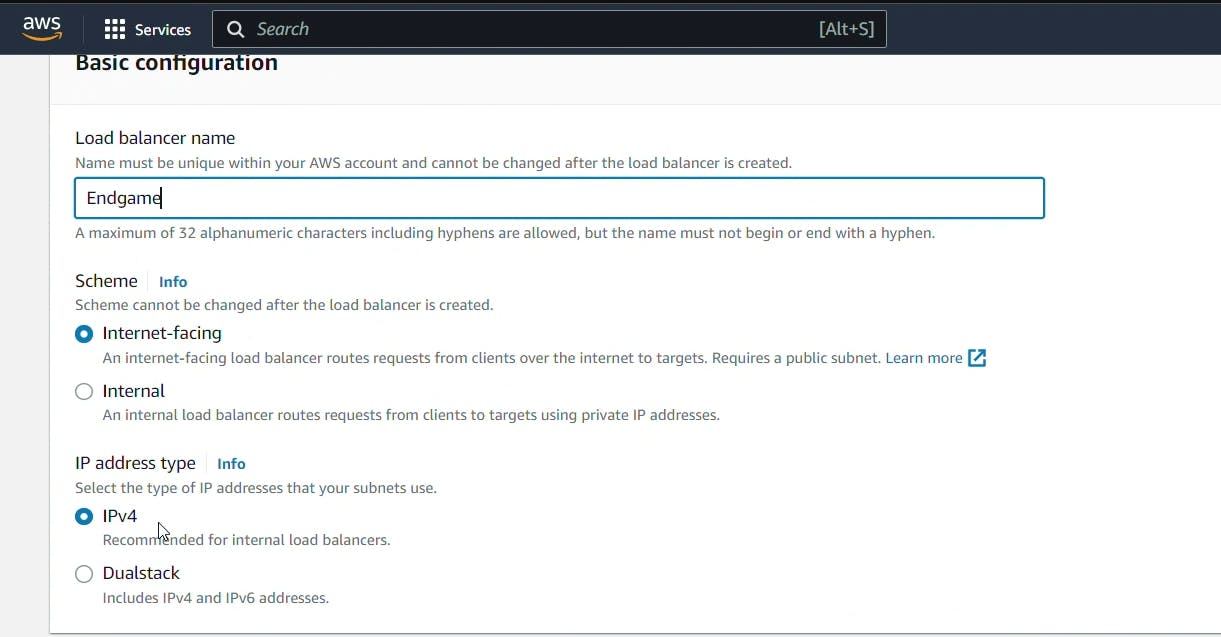
1) Go down in left tab to Load balancing And Click on Load Balancers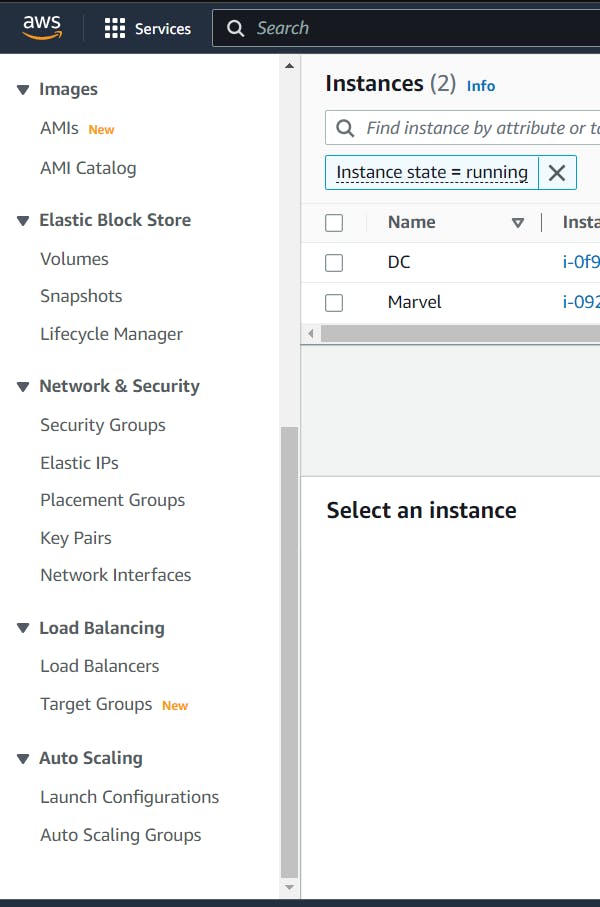 After that Click on Create Load Balancer. In that click on Application load Balancer after clicking that you have page that you have to write your load balancer name select mapping zones in your region as you wanted to create.
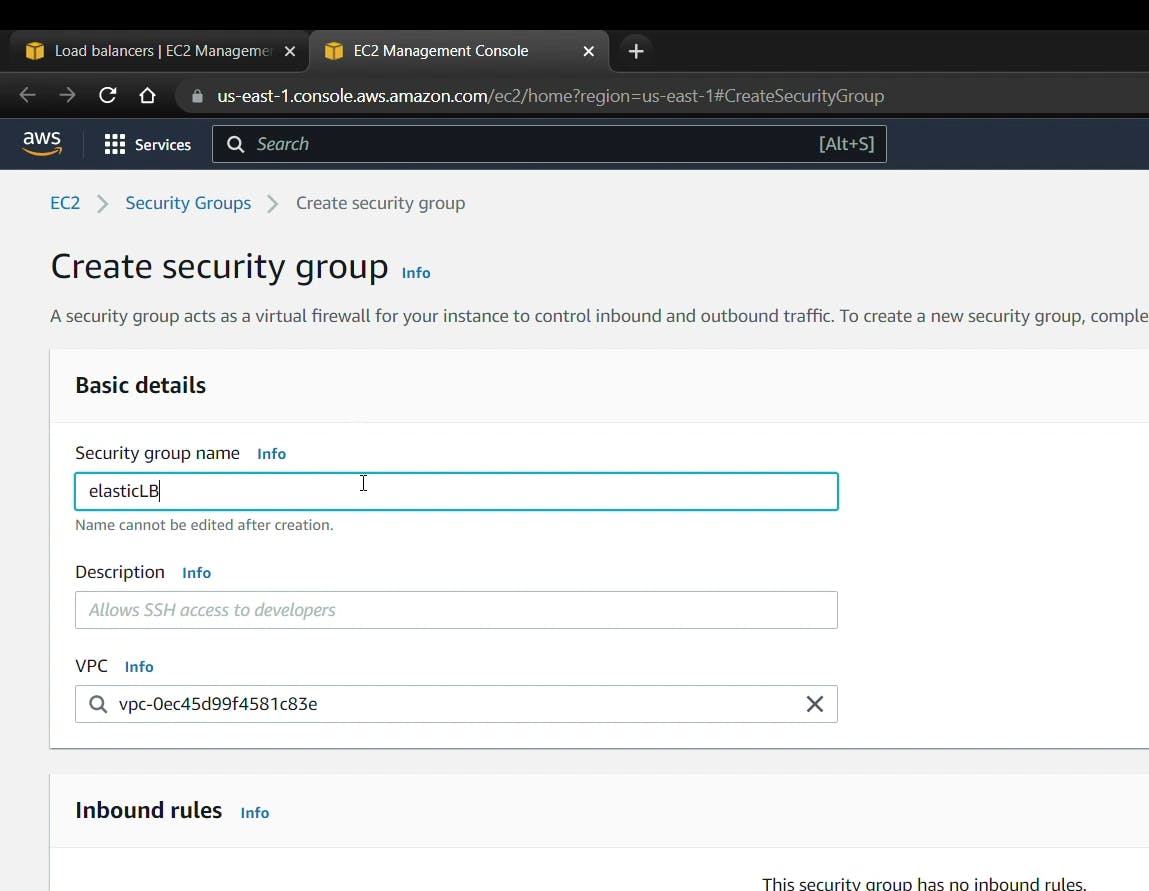
2) Now You have to create security Group for load balancer. Bydefault AWS provides you a group But it Good practice to create new one so click on Create New Security Group in Security Group Section. It will take you to the new tab on browser. Fill your group name as you want & give Description. Set Inbound Rule to HTTP port 80 And keep rest all by default and click on create group.

3) Now go to the security group section in previous tab and refresh the list and you have to search the group that you created now.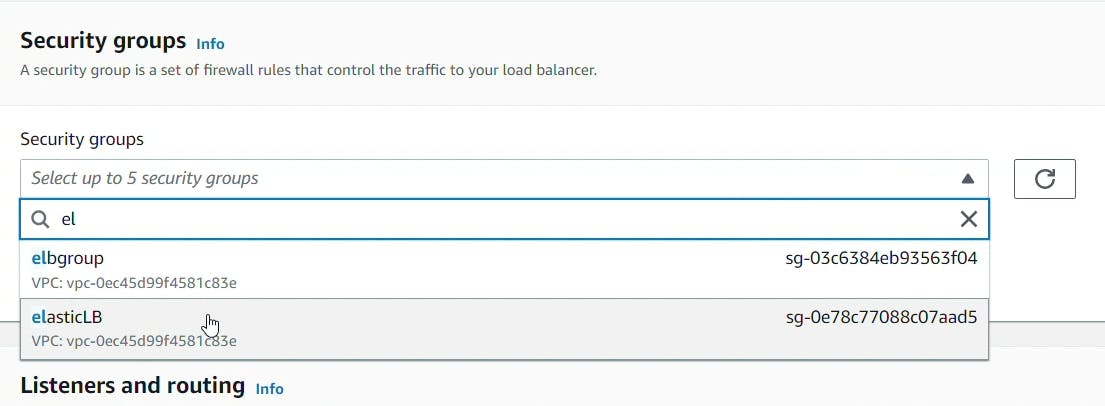
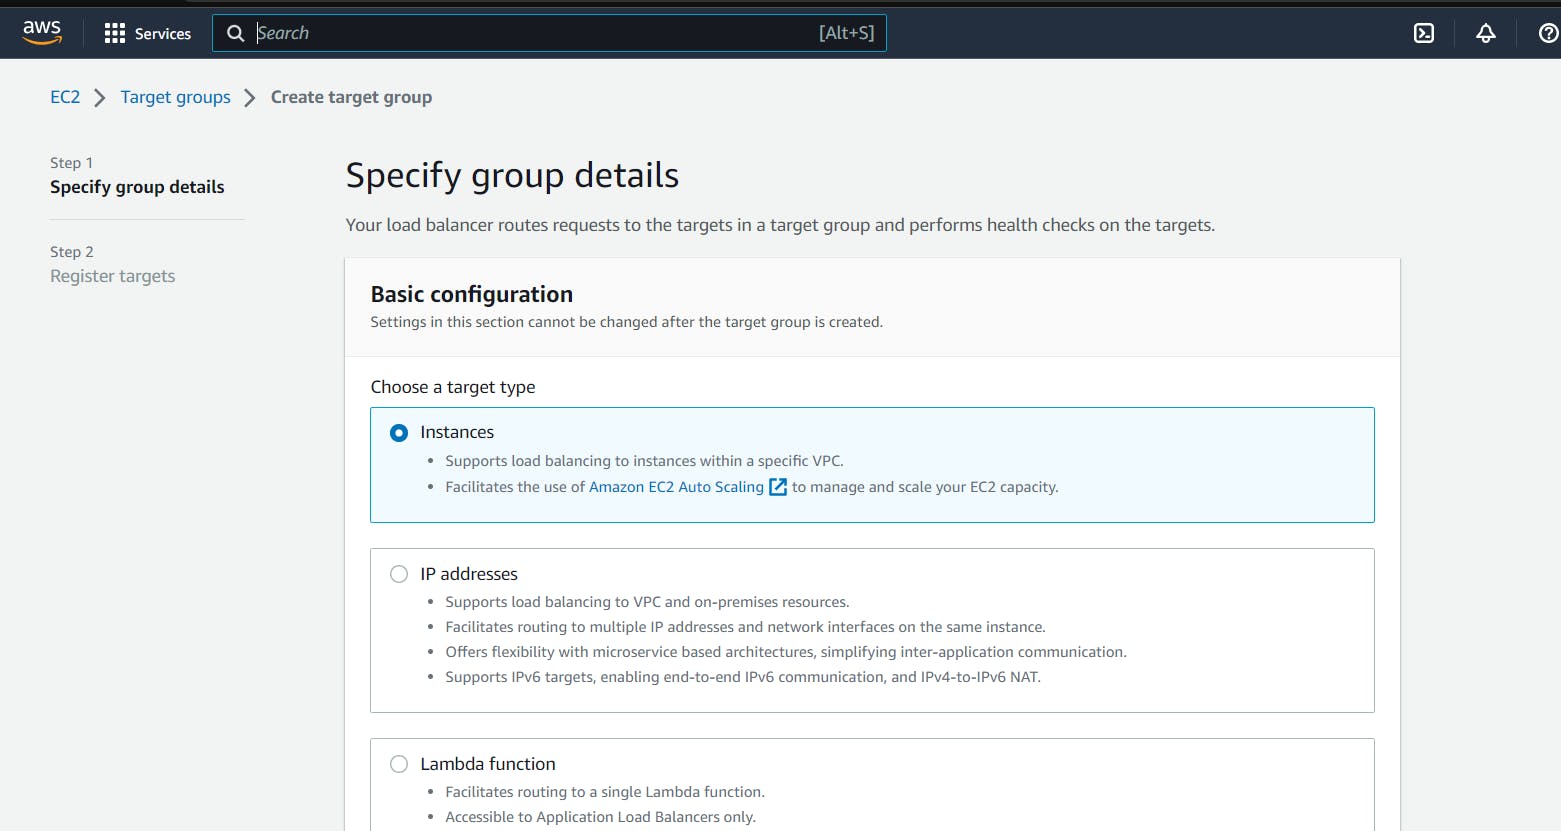
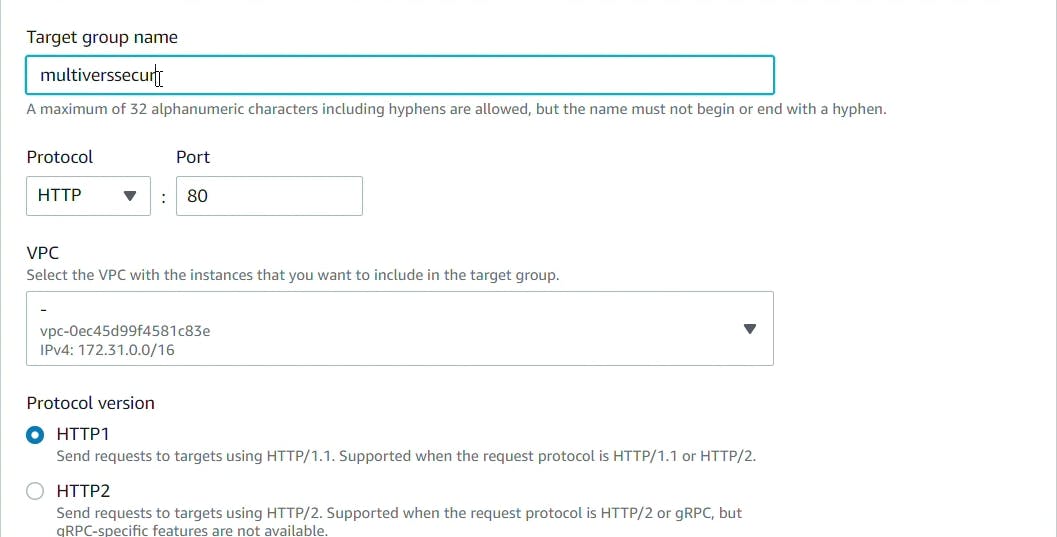
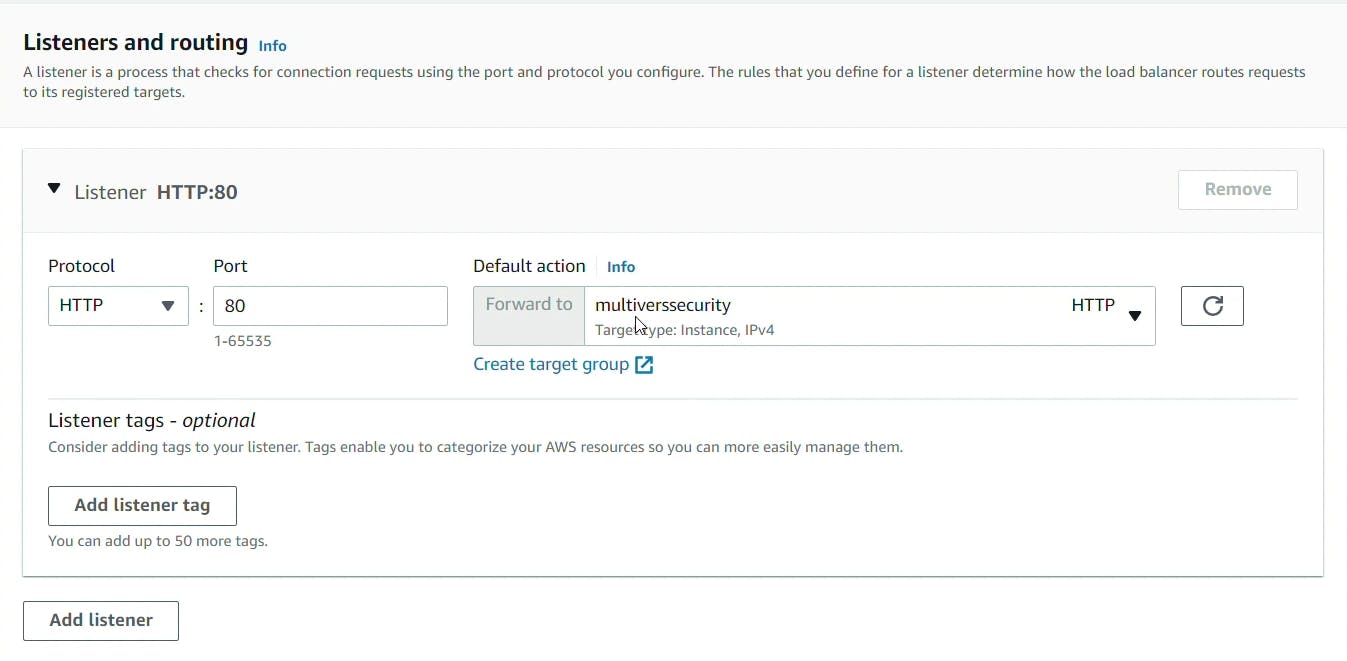
4) Now in Listeners and routing Section there you find the select target group but we don't have the Target group So we click on Create Target Group and it will take you to a new browser. Now you have to Select Target Type as a Instance Because we use our ec2 instance for load balancing. If you want to set with ip select that. There is 4 Target types. Now enter the Target group name.
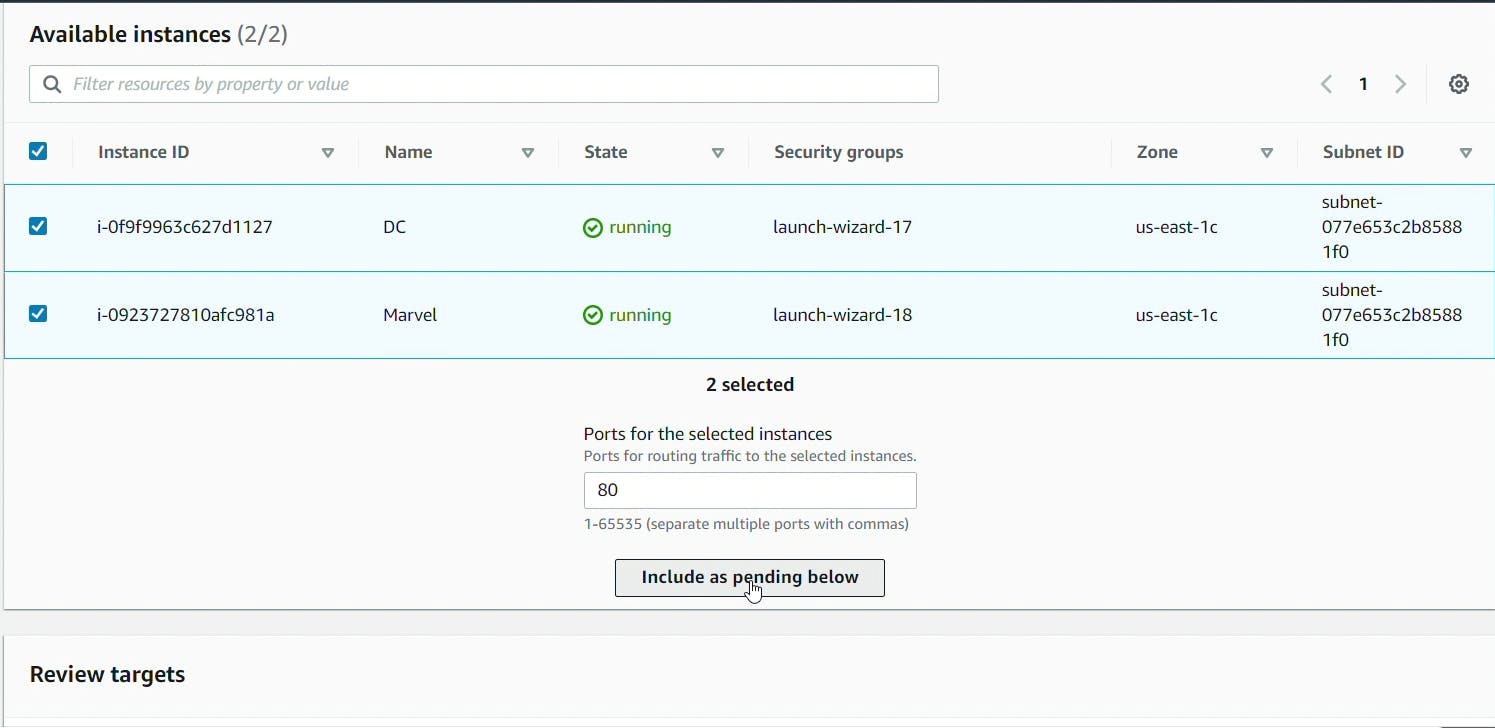
5) Scroll Down to bottom and click on Next. Now you see There is your all running instance so you have to select instance for load balancing And click on Include as pending below
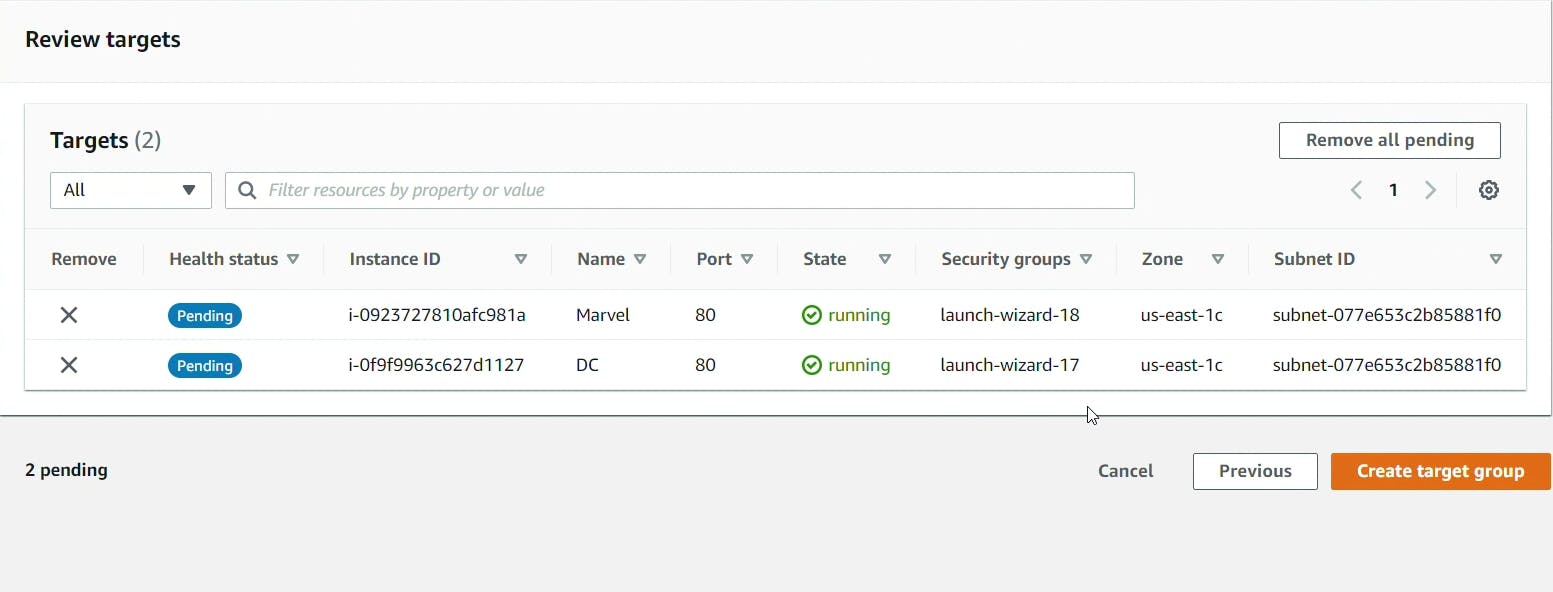
 now you have a option to review targets review and click on create Target Group.
6) Back go to the browsers Load Balancer tab and refresh the target group section and there you will find your target group that you created now select that.
7) Scroll down and there you will see the summary about load balancer review it and click on create load balancer.
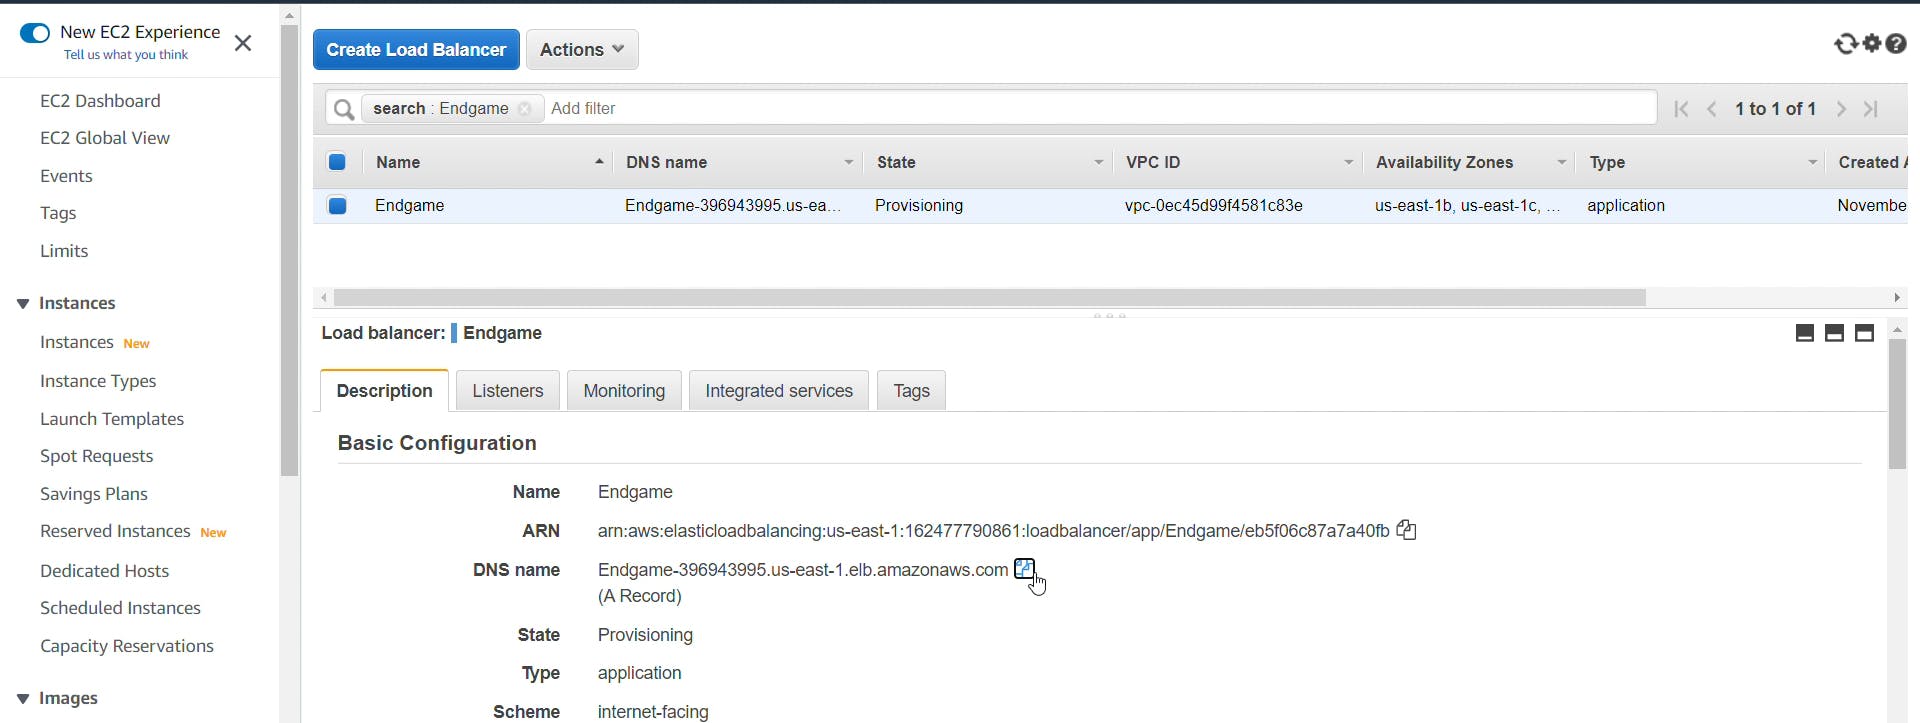
 Now you Successfully Created Load balancer for EC2 instance. click on view load balancer and see the all things about your Load balancer.
8) Now Its Time to test your Load Balancer. Copy the DNS name from Load balancer Description and paste in new browser tab.
 And refresh it again and again you will see your two difference sentence in your servers file. If you didn't see that please wait for 2 min load balancer take time to active.
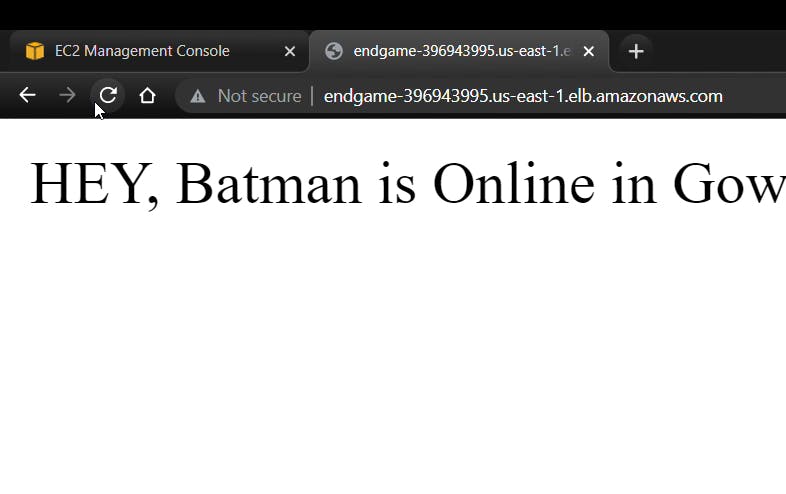

If You Find Any Doubt Please visit the video . Here i provide a video with all these steps clearly.
-Thank You For Reading :)
Rushikesh Mashidkar